

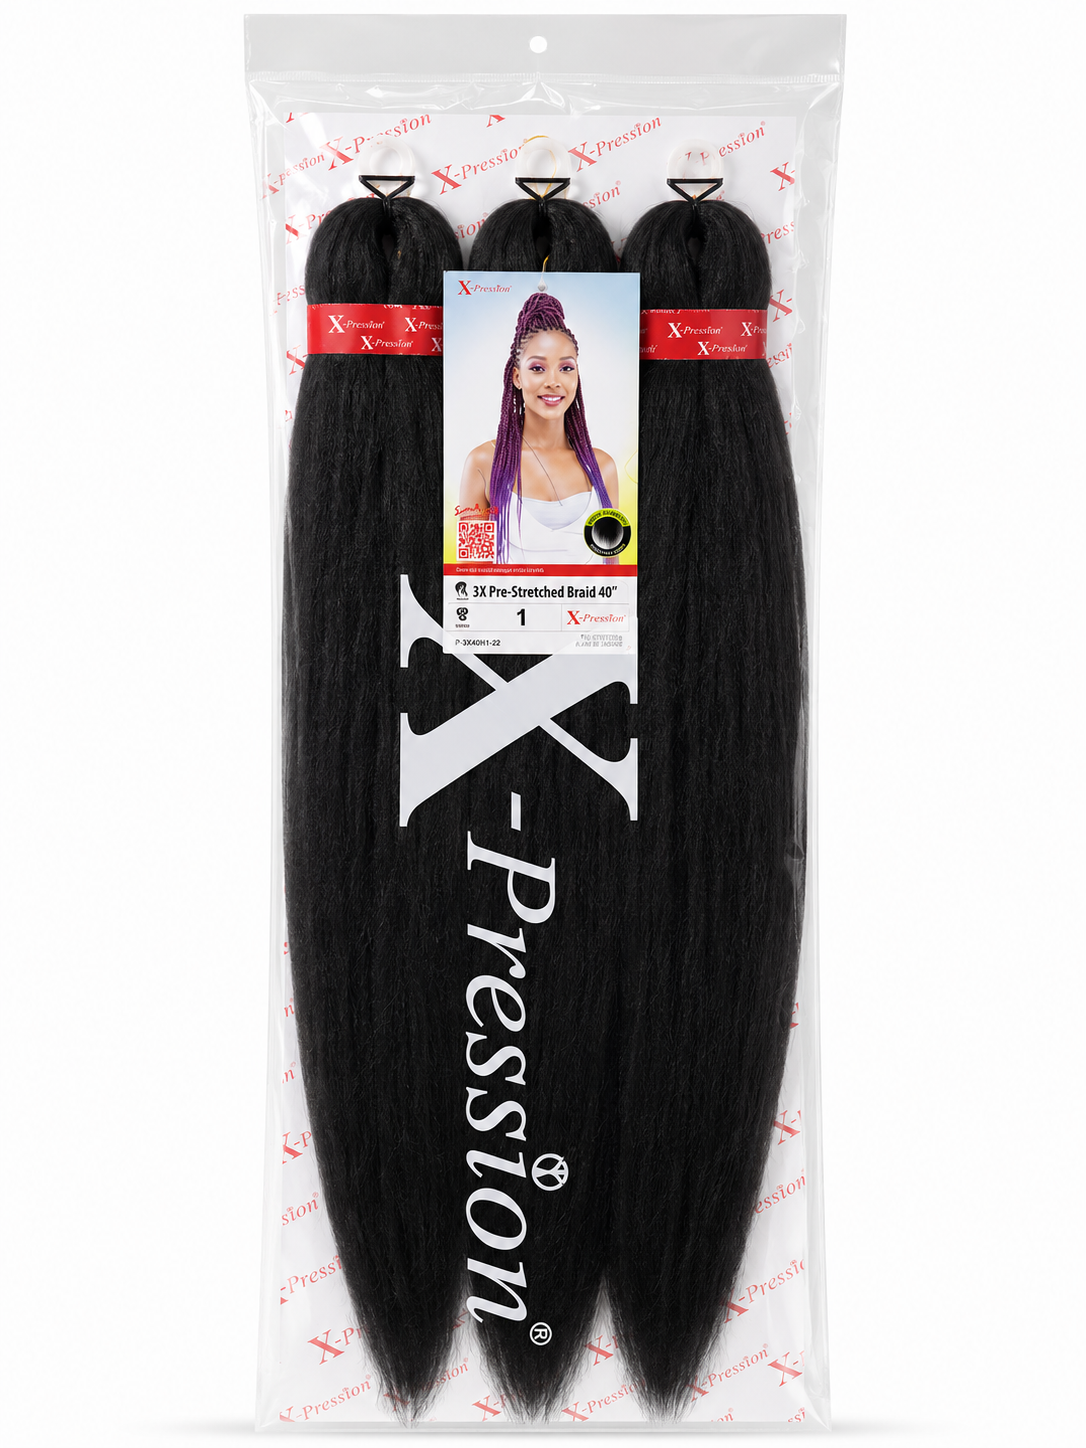
Okay, let's talk about the easiest way to get gorgeous long braids: pre-stretched hair. If you have ever spent an hour plucking and stretching braiding hair before you could even start, this one is for you. Pre-stretched braids come ready to go, so you save time, save your fingers, and get those clean tapered ends without the fuss. Here is your full beginner-friendly guide to installing them at home.
Why pre-stretched braiding hair is a beginner's best friend
Regular braiding hair often needs to be stretched and plucked into shape before you can start. Pre-stretched hair skips all of that. The fibre comes already stretched with soft, tapered ends, which means:
- Less prep, so you get to the fun part faster.
- Lighter braids that are kinder on your scalp.
- Neater, more natural-looking ends with no blunt cut.
- Easier sectioning, because the hair separates cleanly.
Basically, it does half the work for you. We love a low-effort win.
What you will need
- Pre-stretched braiding hair. A full head usually takes a few packs depending on your braid size and how full you want them, so grab enough.
- A rat-tail comb for clean parting
- Hair clips to keep your sections separate
- Edge control and a little mousse
- A bowl of hot water to seal the ends
- A mirror or two, so you can see the back
- Patience and a good playlist
Prep your natural hair first
Great braids start with prepped hair. Wash, condition, moisturise, then blow-dry or stretch your natural hair so it is easy to part and braid. Clean, detangled hair makes the whole process smoother and helps your style last longer.
How to install pre-stretched braids: two ways
There are two popular methods. Knotless is the gentler, more natural-looking option and the easiest for beginners, so we will start there.
Method 1: Knotless braids (beginner-friendly, less tension)
- Part a clean section of your natural hair. Smaller sections give you smaller, longer-lasting braids.
- Start braiding with just your own hair for two or three stitches, no added hair yet.
- Begin feeding in small pieces of pre-stretched hair a little at a time as you braid down, adding a bit more with each pass.
- Keep your tension gentle and even. Knotless means there is no tight knot at the root, so it sits flatter and hurts less.
- Braid all the way down to the tapered ends.
- Repeat section by section until your whole head is done.
Method 2: Classic box braids (with a knot)
- Part a clean section.
- Split a piece of pre-stretched hair into two and loop it around the base of your natural section to anchor it.
- Three-strand braid your natural hair together with the added hair, all the way down.
- Keep the tension consistent so the braids look uniform.
- Work section by section until you are done.
Seal the ends
Pre-stretched hair has those pretty tapered ends already, but to lock them and stop any unravelling, dip the ends in hot water for a few seconds. This sets the braid and gives a clean finish. Careful, the water is hot, so test it first.
Beginner tips that actually help
- Go smaller than you think. Smaller sections are more forgiving and last longer.
- Not too tight. If it tugs your edges or hurts, loosen up. Tight braids damage your hairline.
- Keep your sections even. Consistent parting is what makes braids look professional.
- Take breaks. A full head takes hours, so stretch, snack, and come back to it.
- Use a mirror for the back, or film yourself so you can check your parts.
Pick your length
Pre-stretched braiding hair comes in a few lengths, so match it to the look you want:
- 40 inches: long and versatile, without going extreme.
- 50 inches: extra length and movement.
- 72 inches: maximum drama, floor-skimming braids.
Not sure? Picture where you want your braids to fall, then size up if you want more.
So many colours
From classic 1 and 1B blacks to warm 27, 30 and 33, blonde 613 and bold blended shades, there is a colour for every mood. Go natural to keep it subtle, or reach for a warm or bright shade to make a statement.
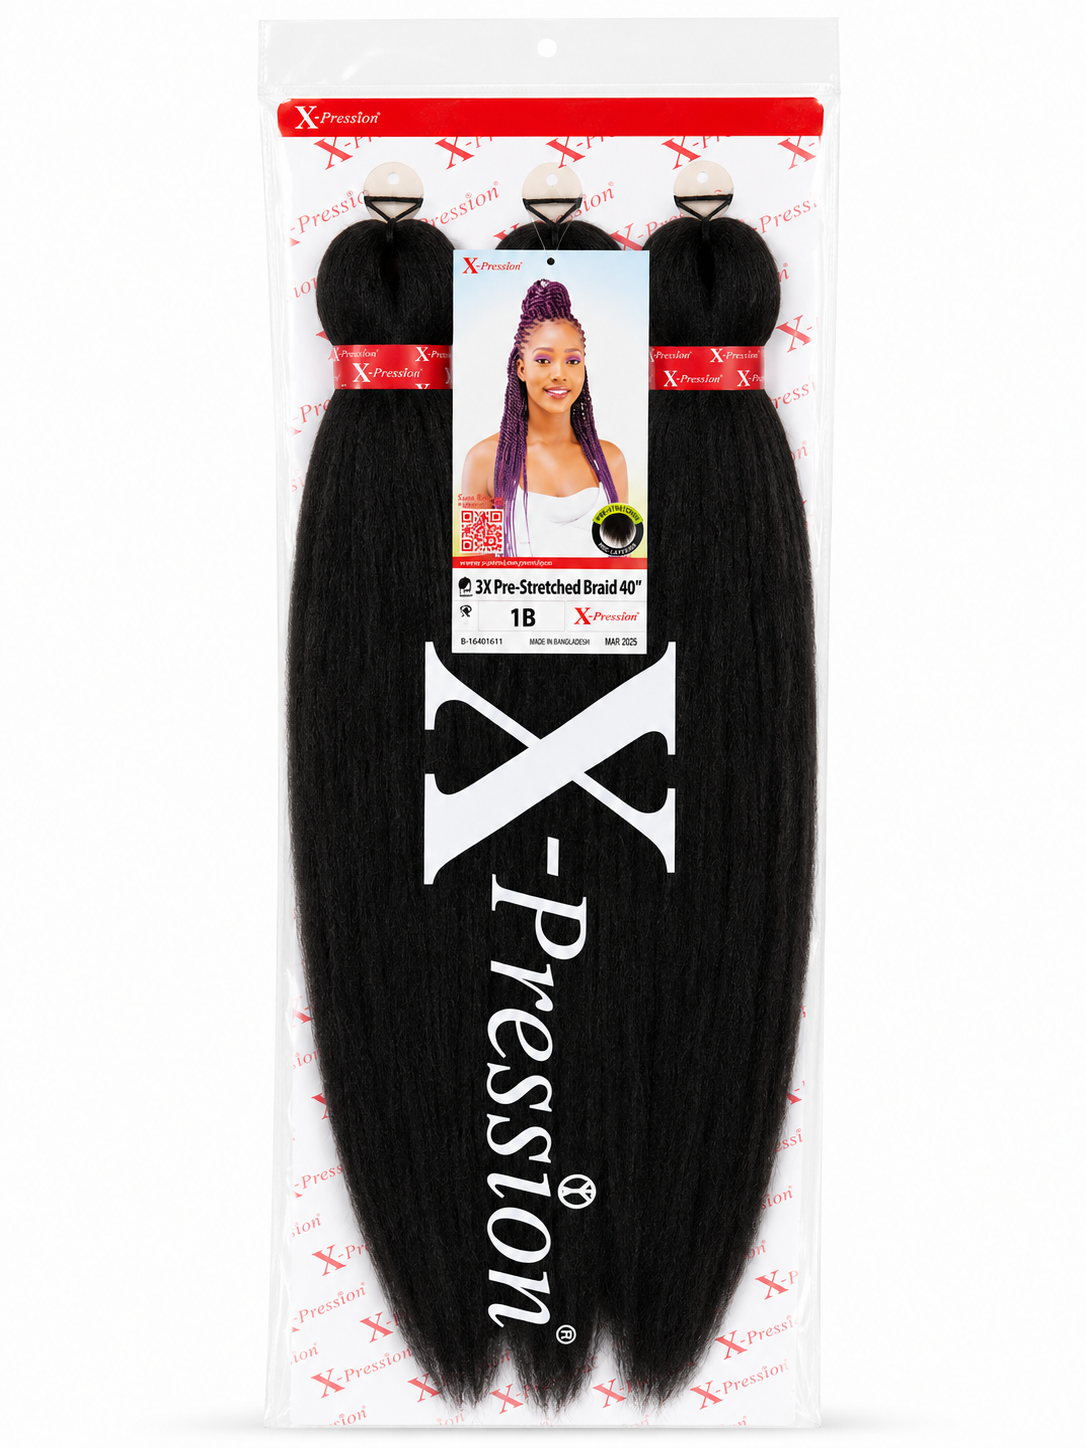
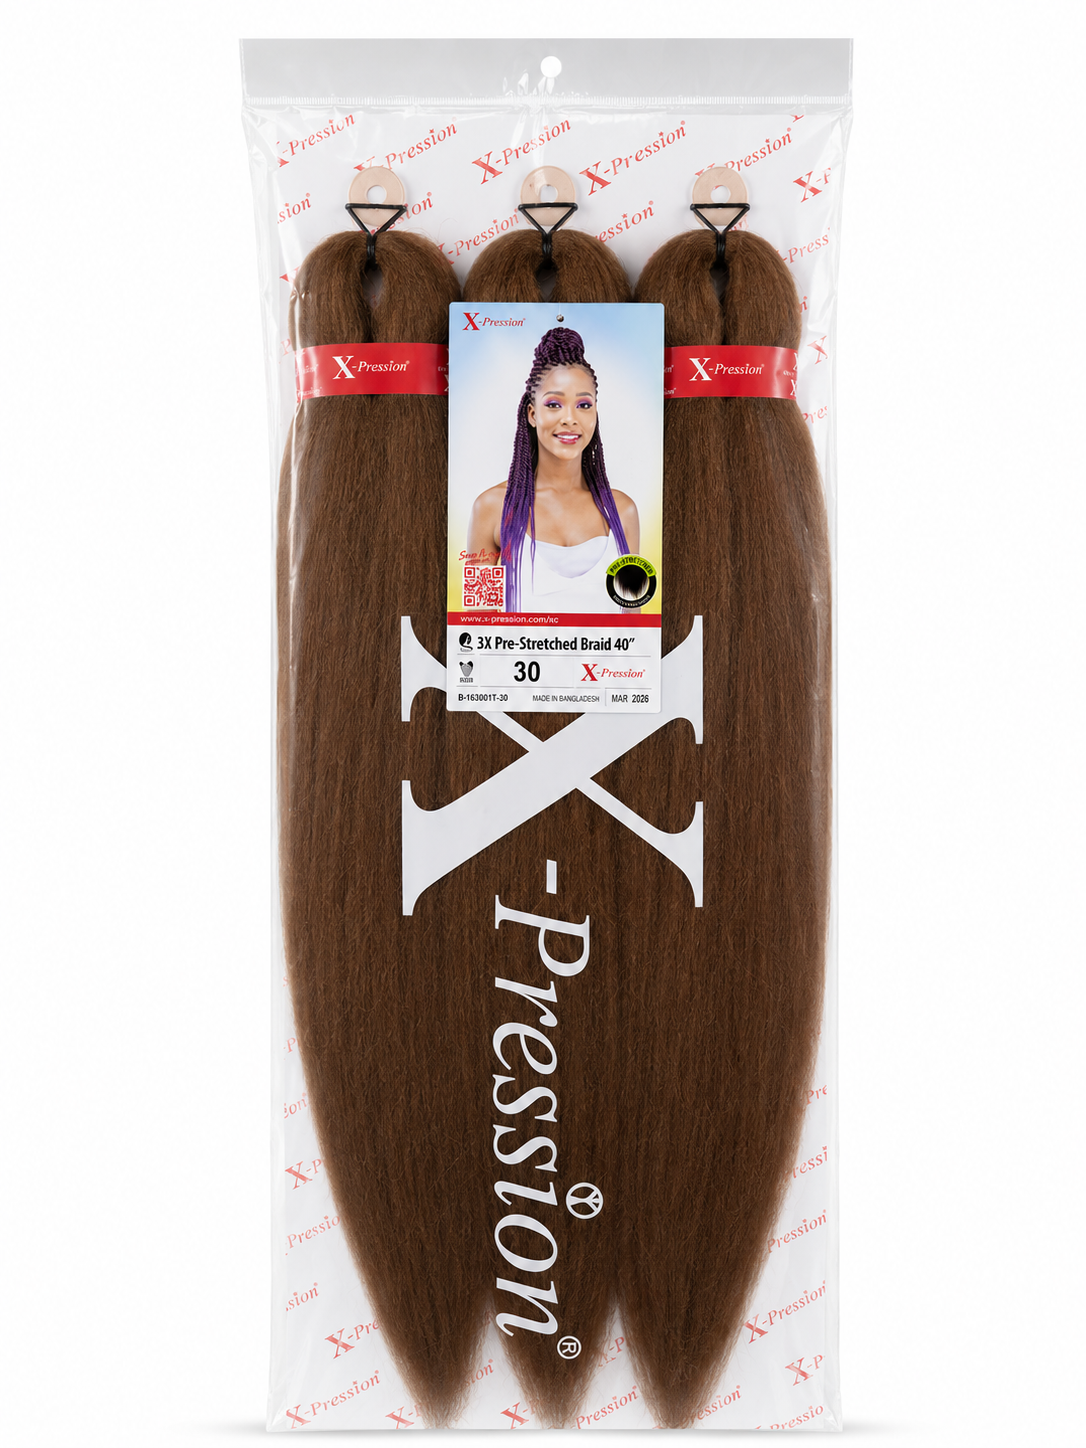
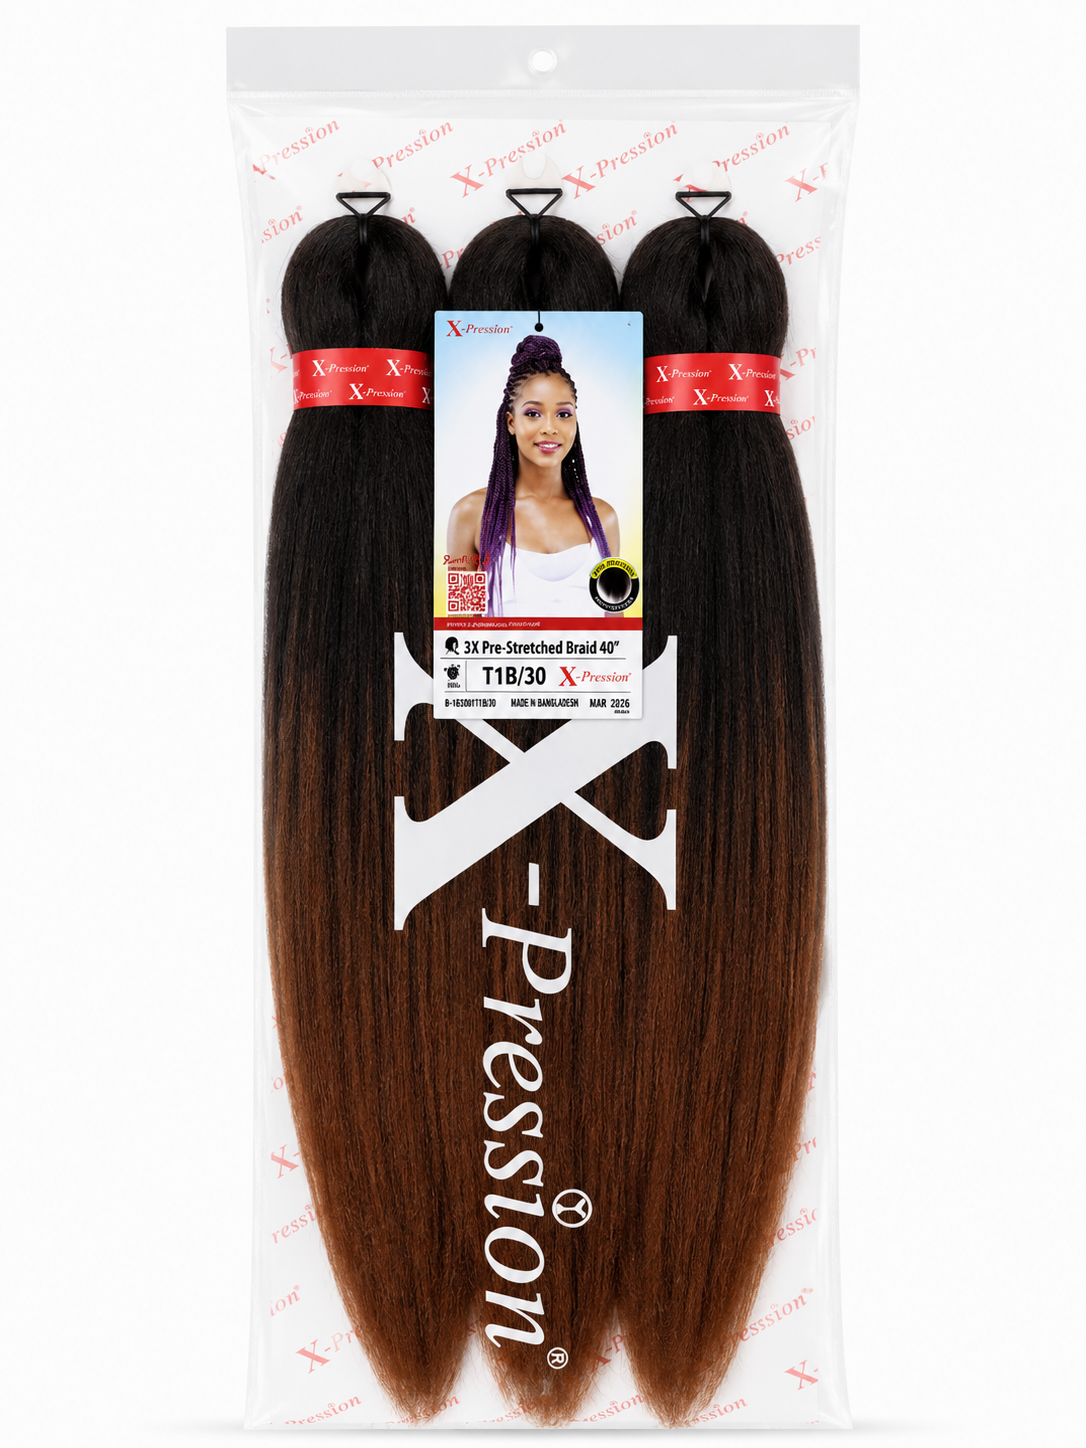
A few of the shades, from classic black to warm blends.
A quick word on care
Wrap your braids in satin or silk at night, keep your scalp clean, go easy on the pulling and restyling, and let them dry fully if they get wet. Treated well, your braids stay neat for weeks.
Prefer to leave it to a pro?
No shame in booking it out. Book a salon appointment and let the team handle the parting, tension and finish while you relax.
Ready to braid?
Grab your pre-stretched braiding hair in the length and colour you love, prep your hair, and give yourself an afternoon. You have got this. New here? The newsletter gets you 10% off your first order.
Frequently asked questions
Can a beginner really install pre-stretched braids? Yes. Start with knotless, keep your sections small and even, and take your time.
How many packs do I need? It depends on braid size and fullness, but a full head is usually a few packs. Buy a spare so you do not run out midway.
Knotless or box braids, which is better for beginners? Knotless. It is gentler on your scalp and more forgiving as you learn.
How do I stop my braids from hurting? Do not braid too tight, especially around your edges. Gentle, even tension is the goal.
How long do they last? Several weeks with good care.
Related reading: How to Style Jamaican Cuban Twist Hair

